
Did this super easy DIY yesterday after seeing it on several girls over the last few months and thinking it was cute. I used A Pair & A Spare's tutorial for reference, but it's so easy you can just go for it.
Supplies
-a shirt
-fabric scissors
-fabric pen/marking utensil that won't run your top
-pins
-a piece of paper to create stencil
-a ruler (not necessary but helpful)
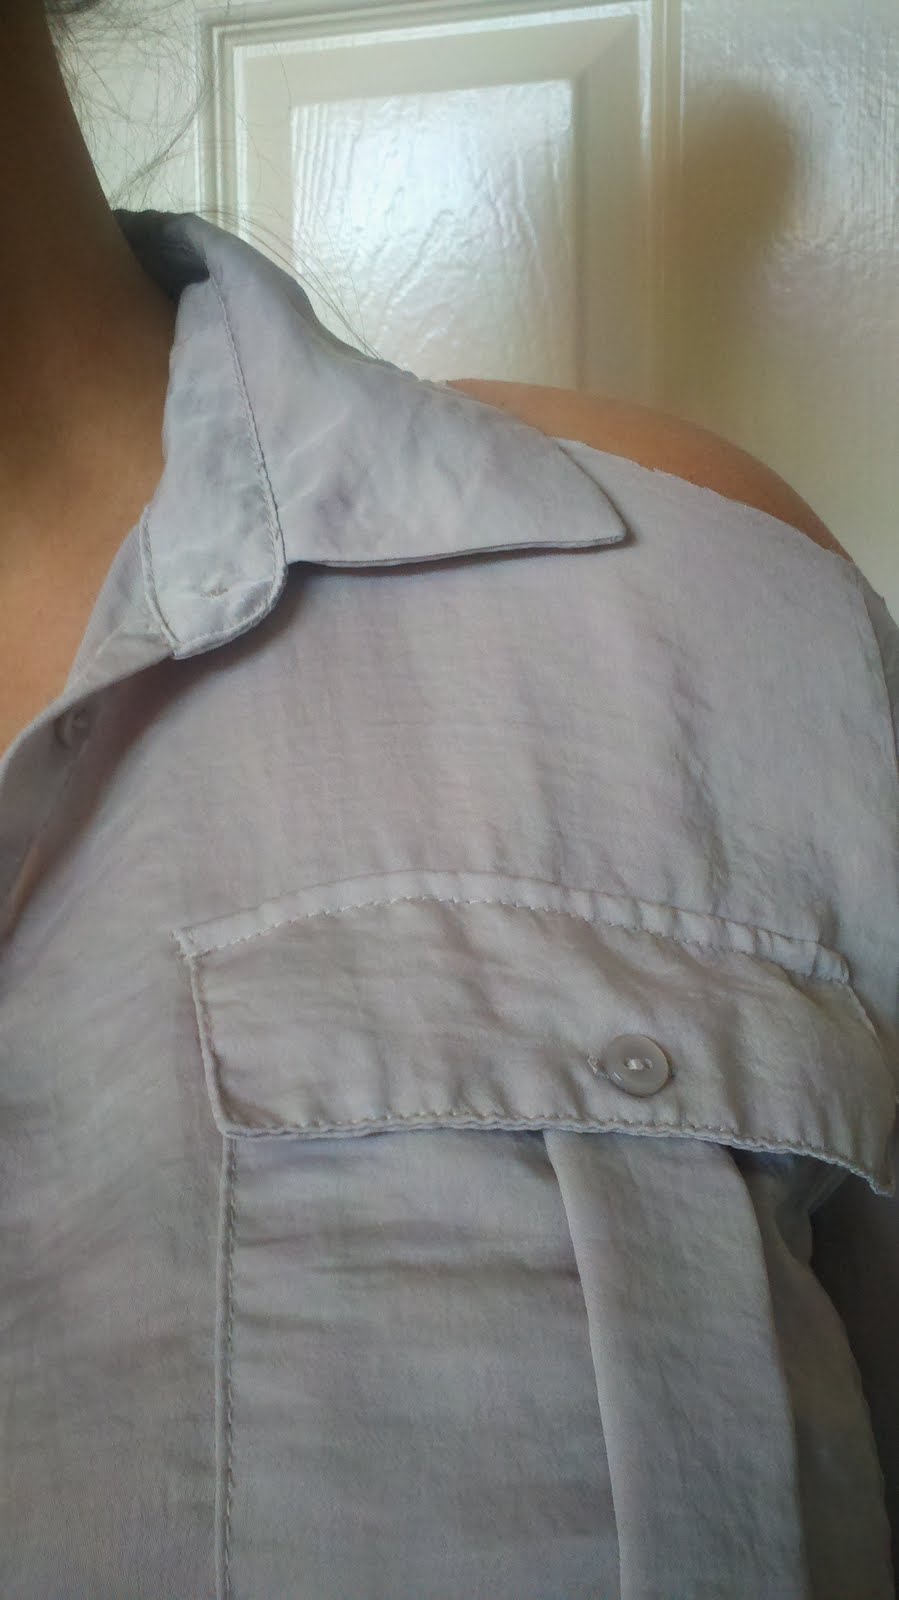
1. Choose a blouse. Since this was my first time I used a shirt I liked but that was really cheap, so I wouldn't mind so much if I ruined it.
2. Make a stencil the size of your cut out. It should be an oval.
3. Pin the stencil exactly where you want your cutouts. Trace. Cut.


6. And you're done. You are now the owner of a sexy little shirt that will be a great transition piece to wear from Summer into Autumn, and Winter if you live in warmer climates.

Supplies
-a shirt
-fabric scissors
-fabric pen/marking utensil that won't run your top
-pins
-a piece of paper to create stencil
-a ruler (not necessary but helpful)
1. Choose a blouse. Since this was my first time I used a shirt I liked but that was really cheap, so I wouldn't mind so much if I ruined it.
 |
| It had passants so I had to make sure my cut outs were longer than them. |
 |
| My cutouts were small about 4x4.5" |

4. Try on shirt to make sure you like size/placement of cutouts. If you aren't sure how large you want your holes to be start small, try on the shirt, and then cut them larger if you want. Once you cut you can't go back.
5. Pin and sew down raw edges. I just hand stitched them but you can use a sewing machine.

6. And you're done. You are now the owner of a sexy little shirt that will be a great transition piece to wear from Summer into Autumn, and Winter if you live in warmer climates.

Enjoy and Happy Sunday Funday!
No comments:
Post a Comment