Dirty Shiny Pretty

Musings on Dirty Shiny Pretty Life
Showing posts with label fashion. Show all posts

Sep 30, 2012

Thrift Store Rework: Old Dress= New Top


        + scissors+sewing machine =


I found this dress, with tags still attached, at my local Salvation Army thrift store. Being a sucker for a classic print, black and cream, and a great bargain I scooped it up for $5. While the dress fits I knew I would never wear it as is. Shoulder pads, lining with no give, and the hem length are just not a good combo on a shorter curvy girl. Instead, I decided that the dress would have a fabulous second life as a peplum top (I know peplums are starting to be an old trend but I don't care I think they are fun). With the leftover skirt material serving as the peplum all I had to do was make a few cuts, folds, and stitches to turn this frumpy dress into a flirty top.  My sewing skills are pretty rusty when it comes to clothing so I'm super proud of myself for being able to pull this off. Have you ever reworked/repurposed clothing? How did it turn out?


Sep 13, 2012

Since I've been Gone

Did ya miss me? Here is some of the work I've been up to over the last few months. I've loved fabrication so much that I'm actually going back to school next month to get my degree in Jewelry Design. Yay to massive student debt and new possibilities! More big news. I am a featured artist on the new site Makeably. It is a great website started by a friend of a friend that features artists and crafters selling completely custom and one-of-a-kind work. The site doesn't launch until the 20th but I'll post more information when I get it in case you want to check it out. Really looking forward to all these new opportunities.


Sep 12, 2012

Fiber One Snackcessory Challenge


A few weeks ago Fiber One contacted me asking if I would like to DIY a Snackcessory to share with all you. Of course I said yes because I can't resist a good DIY challenge and creating a cute bag to protect my snacks from getting smashed sounds like a win win situation to me. Riffing off my pearl encrusted DIY Minauderie and the bold blues and floral I've been noticing during fashion week I decided to decoupage a sunglasses case with a beautiful floral paper and then spice it up a bit with some hardware. Not only will this little bag protect your snacks it will fit your night out essentials so you can ditch your purse and rock the minauderie.

*Make sure to check out the contest at FiberOne.com!

Wouldn't Mandy look great with this?
                                                                                   Source: refinery29.com via Jacqueline on Pinterest

Supplies:
-hard sunglasses case (the larger the better)
-Mod Podge and spray adhesive if you want a quicker dry when laying your paper
-Paint brush
-1 piece pretty paper (mine is scrapbooking paper)
-E6000 glue (a DIYer must have)
-A flat-back piece of hardware (I used a jewelry finding I had in my collection, originally its from Michaels)
-Approx. 6" Chain (if you don't have large link chain you can link smaller strands together for greater visual impact)
-Toothpicks and pen/pencil

Steps:
1. Mod Podge paper to case. I cut my paper in half and then lined up one edge to the hinged edge of the case. Lay case flat. You will work on one side at a time. Spray the glue or paint the MP onto the hinged edge and top of case. Lay paper down flat on theses areas. Wait to dry. 
2. Spray or MP one corner of case and carefully work paper onto surface. You will have to fold or crumple paper to shape it. Let dry. Repeat on other corner. 
3. Trim off excess paper.
4. Mod Podge papered area. Be sure to get under the edges so they don't flip up. Let dry.
5. Flip case over and repeat steps 1-4.
Mod Podge a DIYer's good friend
6. After case is dry you can add the hardware. To create a fake clasp like mine center your hardware at the case opening so that if will fit across both sides. Mark the spot on one side. Open the case up. Using a toothpick spread some glue onto the marked area, going to the lip of the case. Quickly, place your hardware (just half of it) on the glued area and hold till dry.
7. With pen/pencil lightly mark the spots where your chain will attach the the case. Using a toothpick dab glue on one of the markings then press chain into glue. While holding the chain in place put more glue on the toothpick and spread it around the edges of the chain to create a nice seal. When that end is attached repeat at the other end. 

Let dry and Viola! You have a chic new Snackcessory.
Enjoy!

All you need for a night out
Now I want to see yours. Leave me a link in the comments and don't forget to go to FiberOne.com to enter your own Snackcessory for the chance to win a trip to Mercedes-Benz NY Fashion Week Feb. '13 for you and a guest! 

Nov 9, 2011

Mod inspired DIY Bold Collar Necklace


I have a slight obsession with classic films and British period dramas meaning my Netflix queues are full of them. On any given night you will probably find me winding down for bed by randomly selecting a movie from my watch instantly queue. A few weeks ago I decided on "The Grass is Greener" starring Cary Grant and Deborah Kerr. While I wasn't in love with the film (laughing away infidelity isn't my thing) I was in love with Jean Simmons bold style. Particularly in one scene where she wears an all orange outfit with matching orange necklace and earrings, one of which sits as a crown jewel in her bouffant. I decided I needed a necklace like that to call my own and what better way to get one than to make it myself.

She's crazy and fabulous!

The complete ensemble

Supplies:
-Several brooches, rhinestones, odds and ends from broken pieces of jewelry, nothing has to match
-Strong adhesive made for metals and plastics
-Spray paint
-Backing strong and soft to handle the weight of the jewels and movement. I used embrodiery cloth because I had it on hand, but now I have to layer it with something else because its so scratchy
-A clasp

1. Cut out a circle from a piece of paper. It will be your guide for the inner circumference of your necklace. To get mine I traced the inner part of a collar necklace that had the same fit I wanted with this new piece.

2. Lay your backing down and position the circle on top of it so that there is enough room to add all your pieces. Position everything in a way you like then use the glue to join each piece to the backing. I had to redo this because I forgot the backing the first time.


3. Cut away the extra backing.


4. Make sure everything is solidly attached and spray paint the whole thing. It might take a few coats. Finish off with a sealer so the paint doesn't nick or chip.


5. When dry and the clasp and viola! You now are ready to rock an amazing one of a kind necklace.

Of course its only right to pair it with an outfit the same color.

Enjoy!

Aug 7, 2011

Cut Out Shoulder Blouse DIY

Did this super easy DIY yesterday after seeing it on several girls over the last few months and thinking it was cute. I used A Pair & A Spare's tutorial for reference, but it's so easy you can just go for it.

Supplies
-a shirt
-fabric scissors
-fabric pen/marking utensil that won't run your top
-pins
-a piece of paper to create stencil
-a ruler (not necessary but helpful)

1. Choose a blouse. Since this was my first time I used a shirt I liked but that was really cheap, so I wouldn't mind so much if I ruined it.
It had passants so I had to make sure my cut outs were longer than them.
2. Make a stencil the size of your cut out. It should be an oval.
My cutouts were small about 4x4.5"
3. Pin the stencil exactly where you want your cutouts. Trace. Cut.

4. Try on shirt to make sure you like size/placement of cutouts. If you aren't sure how large you want your holes to be start small, try on the shirt, and then cut them larger if you want. Once you cut you can't go back.


5. Pin and sew down raw edges. I just hand stitched them but you can use a sewing machine.

6. And you're done. You are now the owner of a sexy little shirt that will be a great transition piece to wear from Summer into Autumn, and Winter if you live in warmer climates.

Enjoy and Happy Sunday Funday!

Jun 6, 2011

With a few minutes and a few $

I got some grey platform booties at F21 several months ago and have happily worn them many times. Recently, I saw a photo featuring them and I all I could think was "WTF...When did I start wearing grandma shoes?". Although, I was less than pleased with than my booties' latest performance I just wasn't ready to give up on the poor soles (horrible pun intended). Instead I decided to whip out the big guns, aka my brains, and try to find a way to save them. A little imagination, a little glue, and 10 minutes was all I needed.

Offending Photo

Boring Booties
+

Funky Stickers/Decals
 +
Fabric Glue
=

A whole new look

Ready for a second chance at life
Enjoy!

Apr 23, 2011

Springtime Nails


I just had to get these Sally Hansen Nail Polish Strips I spotted while rushing through Target grabbing candy for a egg hunt I'm in charge of this Sunday. Usually my local target only has bright neon yellow strips in stock, but somehow I lucked out and had a variety of options to choose from. While the leopard were really calling my name I ultimately decided on the flower power design because it was perfect for Spring, Earth Day, and Easter. I have tried other nail polish strips before and I definitely prefer Sally Hansen's. They were super easy to apply, secured to my nails well, and I can't feel them whereas my previous pair  felt like I was wearing strips of tape on my nails. These are supposed to last up to 10 days but with all the work I do with my fingers I'll be happy if they last five. At around $8 a package, which includes enough strips for at least two applications, these nail polish strips are worth a try if you're looking for an easy inexpensive way to add a little fun to your look.  

Apr 3, 2011

Sunday with Barbie

Chillin with the girls
     My body aches, my fingers are sore, my brain is mush, and my eyes are burning. No, I'm not sick, I've just been playing Barbies with B for the last few hours. Sitting on the floor, hunched over a pile of plastic dolls trying to fit their ginormous hips and boobs into pieces of fabric no more that an inch wide will do that to a full grown woman. Don't get me wrong. I love playing with B and its fun having an excuse to play with the toys I loved as child, but at the end of playtime its all too obvious I've aged well beyond my 26 years. When we finally stopped playing all I wanted to do was nap. B just wanted to move onto a new game.

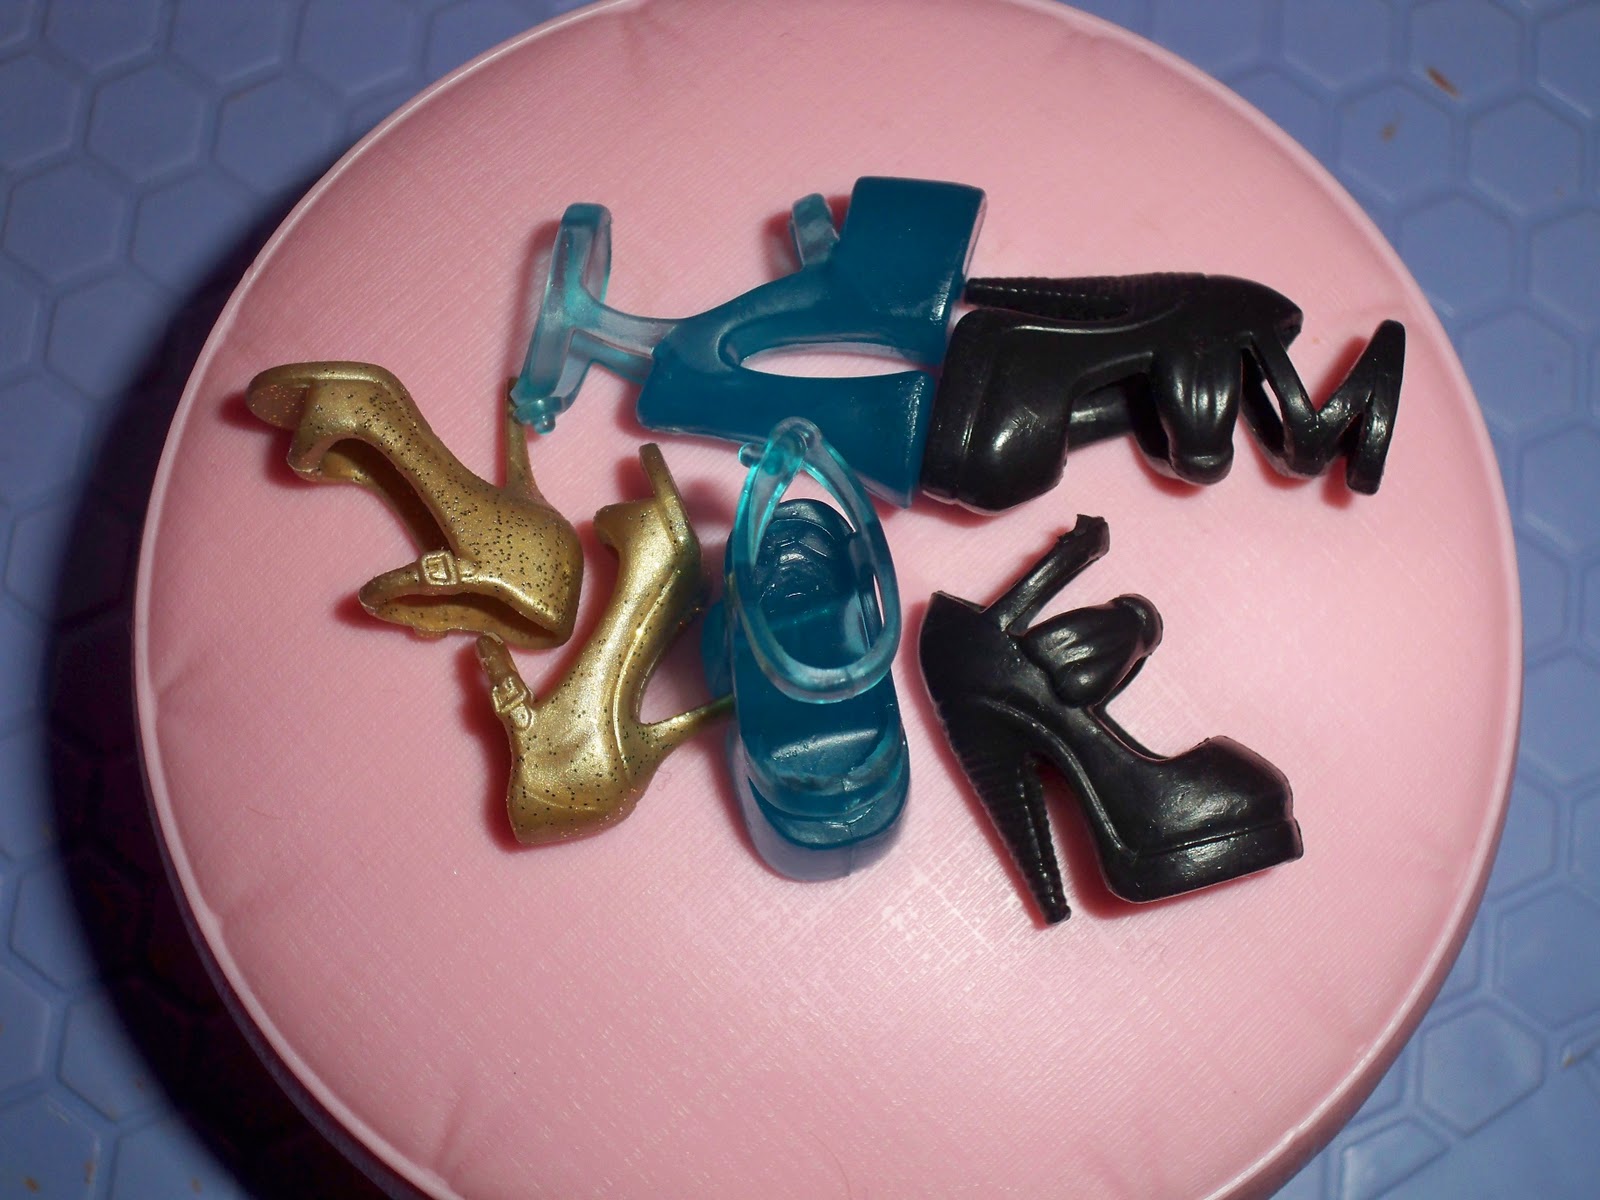
     As any girl who has played with Barbies knows the best part is dressing them up. Most of my Barbie memories involve dolls in different states of undress patiently waiting for me to finish styling them for whatever activity awaited them (usually a Jeep ride and meal with GI Joe). I'm actually in awe that my sister and I didn't all grow up to be 80s hair band groupies, having spent years under the influence of Barbie's blue eyeshadow, pink lipstick, crop tops, and mini skirts. Rest assured Barbie has maintained her iconically inappropriate style all while shedding her corporate conservative pumps for sexy new footwear. I covet several of the colored plastic shoes currently strewn about B's Barbie house. Not sure when Barbie started sporting stylish shoes, maybe Christian Louboutin's collection was the catalyst, but I'm glad it happened. I mean if a plastic dolls is going to inspire a love of ridiculously high heels in my daughter she should at least do it wearing shoes I wouldn't mind sitting in my closet. 

My love of Barbie's shoes has me thinking about giving this site a try so I can make my own Barbie inspired heels. What do you think? Would you rock a pair of Barbie's shoes?
I feel like all of these would work in a Spring'11 fashion spread.
Note to Mattel: Please produce the above pictured styles in natural materials, size woman's 8.5 US, and immediately ship to my house. Thank you!
Three more favorites.
P.S. I know the blue ones are something you would find at your local gentleman's club but imagine them in red suede and voila 

Mar 30, 2011

DIY Skull Fringe Earrings

Iosselliani Long Fringe Skull Earrings $198.  Sold out at most online retailers
I first spotted these amazing Iosselliani earrings in a Refinery29 post. I knew immediately I had to make them. Several months ago I bought two small skull charms. 
Hola chicas bonitas!
Try as I might I just couldn't find a satisfactory way to incorporate them into a piece of jewelry. I even tried chain earrings, but didn't care for outcome. Little did I know it was because I was missing a large gem between the chain and the skull. Seriously, this makes all the difference. This DIY was super simple, quick, and cheap as I already had all the necessary pieces, minus the black chain. Since I used what I had my version is a little different. The stones are purple faceted oval cabs in brass oval settings, my tassels are shorter, and my chains don't have the ombre effect. I originally tried to create the look with spray paint but the paint wouldn't hold to the chain. Bust! For only spending $1 though I'm very happy with the outcome. 
Finished earrings
He's finally found a place to rest

Mar 25, 2011

Friday Find: SWANclothing Garters


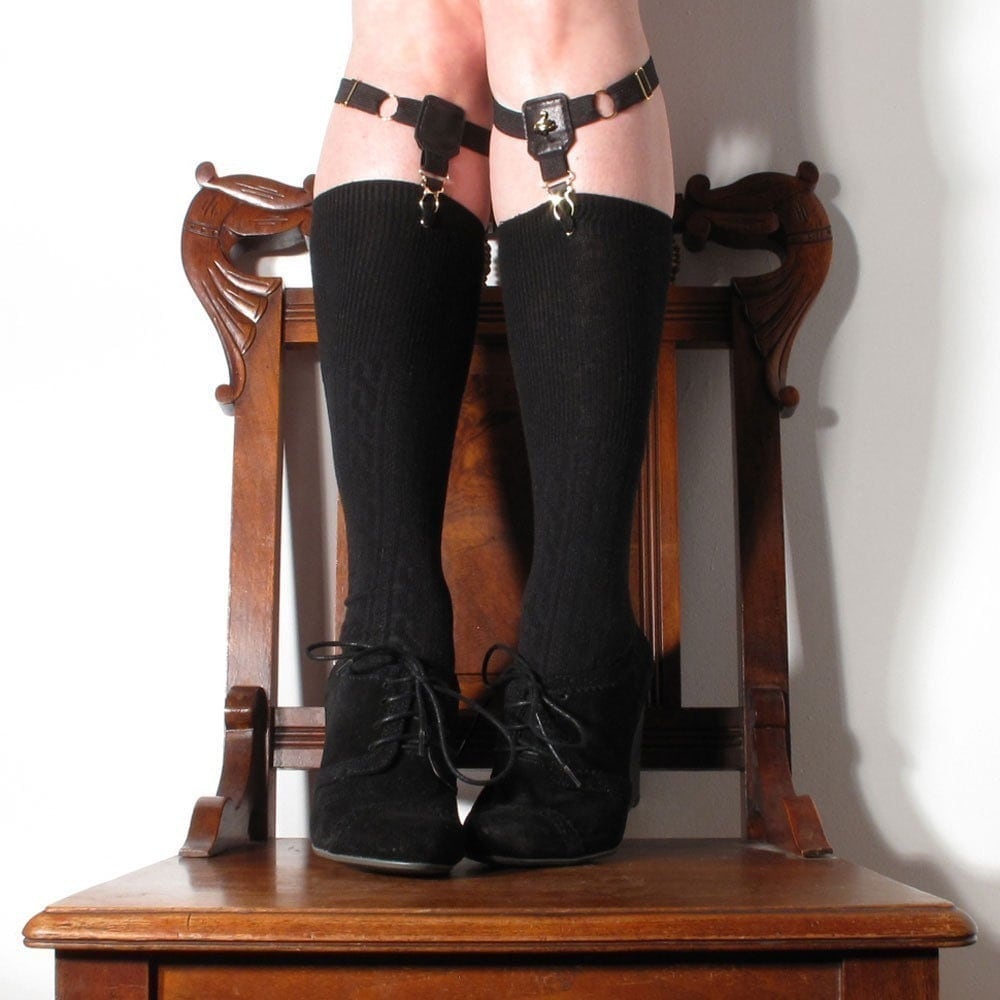
SWANclothing's sock and thigh high garters will put a little sizzle in your step in this Friday Find. I'm pretty sure I first found these lovely garters on The Coveted where Jennine wrote about them here, here, and here. I immediately fell in love with the comfortable lookin elastic and recycled leather design and the swan bead detail. I think anyone who has worn knee socks or thigh highs knows what a pain they are to keep in place. As a former Catholic school girl this struggle was all too common for me. Trying to pull up your knee socks as you run to class in a skirt without flashing anyone is no easy task, but it is one that I, and many of my fellow schoolmates, dealt with each day. Although, looking back I'm pretty sure some of those girls liked giving everyone a little show.


Back to the point, these garters will allow you have your cake and eat it too which would make Marie Antoinette happy seeing how she was a big fan of thigh highs and cake ;) Depending on the garter style you buy they will either be adjustable or made to your measurements ensuring a great fit that will keep everything up without the hassle of wearing a garter belt, which seems to be suffering the effects of a tarnished image anyway. I mean don't garter belts look to have been relegated to the bedroom for women outside of certain professions, and Taylor Momsen? All I know is that SWANclothing's garters manage to look sexy but innocent enough to not worry about getting propositioned by a john and they are functional. So if you love wearing thigh highs but hate the hassle that accompanies them pop on over to SWANclothing and pick yourself up a pair of garters, your thighs will thank you.